Showing posts with label dessert. Show all posts

Monday, March 3, 2014

Serving Seconds

When it comes to conducting food posts, I will happily admit that I am a beginner.  Sure I love to be in the kitchen but my knowledge is EXTREMELY limited when it comes to different recipes and kitchen tips and I rely on the ability of others who REALLY cook to help me.  Melissa at Serving Seconds is one of those people.  

Melissa and I have known each other since college when she rushed my sorority and we perhaps partook in a cocktail or two over the years.  She now lives in San Francisco and is a corporate woman by day and a food blogger by night.  Let me tell you, this girl can really cook.  When my mind is blank on what to make, I head over to her blog to gain some inspiration.  Saturday was one of those days.  I needed a dessert for a dinner party and wanted something creative and new.  Of course, Melissa had Chocolate Covered Bacon waiting for me.

via
 They, of course, were a hit (just ask the hubby...he almost made himself sick he just couldn't stop eating them).  Once again, Melissa delivered the goods.  

Melissa doesn't post just recipes but provides kitchen tips, great food links from around the web, cookbook recommendations, the best food in San Francisco and so much more.  She is also a new student to the San Francisco Cooking School so I can only image the delicious recipes that are going to start showing up.  I guess what I am saying is, your crazy to not stop by Serving Seconds and make a visit.  Believe me, your stomach will thank you.  

Wednesday, July 3, 2013

Patriotic Rice Krispy Treats


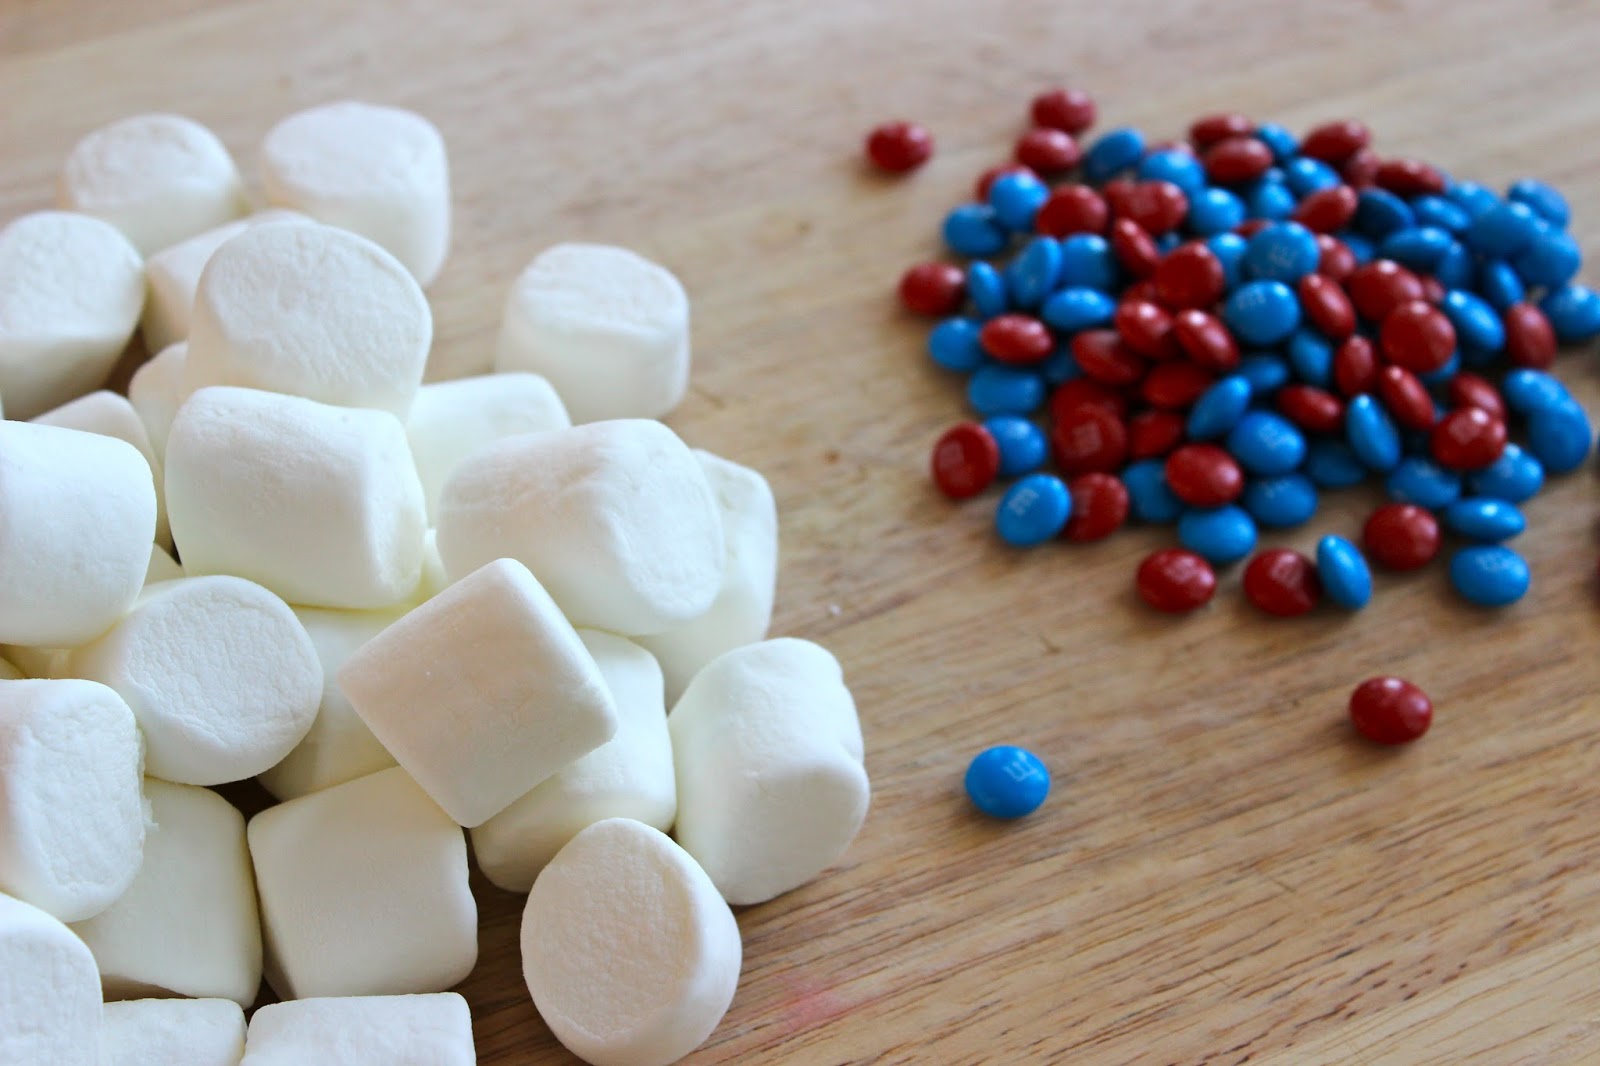
Yesterday the kids and I got into the spirit of the 4th and decided to make some rice krispy treats with a red, white and blue spin.  We followed the basic recipe for rice krispy treats but added some red and blue M&M's and candy sticks to make them less sticky to eat.  They are an incredible easy dessert to make for the 4th and who doesn't love a good rice krispy treat?

Ingredients:
3 Tablespoons butter
6 cups Rice Krispies
40 regular marshmallows
Red and blue M&M's (pulled from a regular bag)
Star cookie cutter
Candy sticks

How To Make:
1. Melt the butter in a large sauce pan on low heat.
2. Add the marshmallows and mix continuously until they are all melted.
3. In a large mixing bowl, mix the cereal and marshmallows together until all the cereal is covered
4. Mix in the M&M's
5. Flatten mixture on a rimmed baking sheet that has been lined with butter or nonstick cooking spray
6. Let cool until completely cooled
7. Cut out star shapes with the cookie cutter
8. Place the candy stick into the star and enjoy!


If you are interested in some more 4th of July fun, I am over at My Thirty Spot today sharing a little wardrobe inspiration for the holiday!  Come visit here.

Wednesday, June 12, 2013

A Lighter Chocolate Milkshake

My kids love sweets.  Surprise surprise right?  Ice Cream, cookies, cupcakes, candy.  They love it all.  This is to be expected with a mother who also has a slight addiction to all things chocolate.  I seem to always be walking the tightrope of not indulging them with sweets but also not being too crazy about it that one day I find candy bars hidden under the mattress.  

To help with the balance I am constantly looking for recipes that offer the sweet flavor my kids love but are not filled with SO much sugar and fat.  I came across a recipe for this lighter Chocolate Milkshake, and thought I would try it out.  

It was a hit with two out of three of the kids (Middle Man is SO picky that this was no surprise at all) and I enjoyed it myself.  With coconut milk, agave, bananas, peanut butter and cocoa powder, it created  a blended drink that provided some nutrition AND tasted like a dark chocolate milkshake.  Is it an In and Out shake?  No.  But it did curb that craving for something sweet and was a refreshing drink on a hot day.  With summer right around the corner this will be a running staple in the house when the ice cream cones feel like they are on overload.


Thursday, April 25, 2013

Lemon Bars


One of my favorite childhood treats were Lemon Bars that my mom would make for dessert every now and then.  For the chocolate lover that I am, it is very rare that I would veer off course, but these always seemed to hit the spot. 

Yesterday was incredibly dreary here in Orange County, which just really didn't seem fair to me. Two days ago we were at the pool and here it was sprinkling again!  To add a little sunshine to our day I decided to make these classic Lemon Bars.  These were just like I remembered as a kid and provided the perfect bite of summer I was looking for.  Now if the sun could actually return I would greatly appreciate it.


Tuesday, April 16, 2013

A Belated Two Years


First and foremost, my thoughts and prayers go out to all those affected by the explosions in Boston yesterday.  It is heartbreaking that these events happen here and around the world.  

Through our crazy schedules around here, I completely overlooked that on April 6th, Juggling in Heels hit the two year mark.  I cannot believe.  I was never really sure what I was getting into when I started this blog and could have never imagined all that has come from it.  The relationships, opportunities and fun have far surpassed any expectations I could have had.  I was just hoping my friends would read it!  

To all of you who have supported and read Juggling in Heels over the past two years, thank you so much.  I cannot express into words how thankful I am that you give me a moment of your time each day to babble about whatever is going on in this head of mine.  Your support means the world to me.  Hopefully you are not sick of me yet because there is a lot more where this has all come from!

To celebrate these past two years I pulled together these Rhubarb Mimosas for a little cheers with the hubby.  The flavor was completely unexpected and a tasty way to celebrate.  


Cheers to year 3!


Wednesday, March 20, 2013

Pumpkin Spice and Chocolate Chip Cakes


Last night I hosted an "Easter Basket Stuffing" party (more on that later!) and thought that after all the kids hard work, they deserved a treat.  I did not have a ton of time to whip something up from scratch so I sort of cheated and put together some Pumpkin Spice and Chocolate Chip Cakes using some cake mix, pumpkin and chocolate chips, all that I had sitting in the pantry.  In 20 minutes they were done and ready to enjoy...which I enjoyed right out of the oven because hey, if I am going to slave over cakes for kids, I am going to have one too...justified by the fact that I ran today....so pretty much played for the tie.  But back to the cakes.  I had an Easter egg baking pan (grabbed from Michael's if you are interested) on hand which I used to get a tad bit festive but as you can see from above, the design did not come out as clear as I would have liked.  And believe me, no frosting is necessary.  These are sweet enough on their own (which is really saving calories right??).

Ingredients:
1 box Spice Cake Mix
1 can pumpkin
2 cups chocolate chips (totally guessing here...add as many as you would like)

To Make:
1. Follow the instructions on the cake box
2. Add the entire can of pumpkin and stir
3. Stir in the chocolate chips
4. Add to cake pan, cupcake pan, any sort of pan you would like!
5. Bake at 350 degrees for 20 minutes (if you are following my mini-cake recipe)

Monday, July 30, 2012

No Name Candy


Is this recipe really called "No Name Candy"?  No.  However, I have no idea what it is called since I am not the one who found the recipe.  Therefore, until I figure out where this recipe came from,  I am going to simply keep it as is.  So, the candy has no name.  BUT, on the plus side, this is a recipe that your children can make!

I give full credit to my friend's daughter for introducing these delicious treats to me.  We were having a potluck after swim team and she had made these to share.  Not only was it a genius idea on the part of my friend to have her child make her contribution but they were a huge hit and everyone could not stop popping them into their mouth.  Her daughter was kind enough to quickly share the recipe and I immediately made my own this past weekend.  It is really just a few simple steps and a great way to get your children to participate in the kitchen.

Ingredients:
1 bag square waffle pretzels
1 bag Rolo candies
1 bag Hershey kisses
1 bag m&m's

Steps:
1. Preheat the oven to 170 degrees. 
2. Lay the waffle pretzels out on a baking sheet.  Fit as many as you can.
3. Unwrap the Rolos and Kisses and place one piece of candy on each cracker. 
4. Place baking sheet in the oven for 5 minutes.
5. When removing from the oven, immediately place an m&m on top and push down so the candy begins to cover the pretzel.
6. Place baking sheet in the refrigerator for 5 minutes

Your Done!  It really is the perfect bite size dessert and balances the sweet and salty perfectly.  I preferred the Rolo-topped one but that is simply because everything is even better with caramel. 


Wednesday, July 11, 2012

Ice Cream Sandwiches


Last Saturday night we headed out to dinner with some of our favorite friends.  When we arrived at the restaurant, the first thing the ladies saw was the dessert menu. It was instantly decided that all of us would order light dinners in order to indulge in dessert.  Fast forward through a ton of talking, kids running around and two bottles of wine.  Some how through all the chaos, we forgot to order dessert.  Our entire night had been planned around it and we missed it.  The next morning I was a little sad about it.

One of the items on the menu was a deluxe, homemade, ice cream sandwich.  It sounded so good that three days later, I decided I was going to make them myself.  Here is all you need.

12 chocolate chip cookies (you can make them yourself or buy then in your local bakery)
1 pint of ice cream (I went with two; one strawberry, one vanilla)
1 package of mini chocolate chips

Here is all you need to do.

1. Let the ice cream sit out a bit so that it softens.
2. Lay wax paper on a cookie sheet.
3. Pour the mini chocolate chips out on a plate
4. Place one cookie on the wax paper upside down.
5. Scoop out ice cream until it sits pretty thick on the cookie.
6. Gently push another cookie on top
7. Roll the sandwich through the chocolate chips (you may need to help by pushing the chocolate chips into the ice cream).
8. Place on cookie sheet.
9. Repeat until all the sandwiches have been created.
10. Place in the freezer for a couple hours (I did it for 4 hours) so the ice cream hardens again.

There really is no reason to say this but they were delish and really, there is something better about them being homemade.


Today is the day we head to Chicago!  As you are reading this, we are high in the sky and either my three kiddos are behaving or all hell is breaking lose.  I am really hoping it is going well but I am not afraid to order a mimosa from the bar cart.

Wednesday, May 16, 2012

Maple Brown Sugar Granola Cookies


I have a major addiction to Cascadian Farms Oragnic Maple Brown Sugar Granola.  If I do not eat it for breakfast then I will have a bowl for a snack or even as dessert.  I really think it is that good.  On the back of the box I have continued to see this recipe for Maple Brown Sugar Cookies and I finally decided to give them a try.  As suspected, they were just as good as the granola.  The one item I left out were the raisins because according to the hubby "raisins do not belong in dessert" but I kept everything else the same and they were delish!  I would love to say the kids ate them all but I definitely inhaled the majority.

Tuesday, February 7, 2012

Maple Bacon Cupcakes


After a loooooong week of sick people in the house, I decided I deserved pure indulgence when it came to my dessert over the weekend.  What better way to indulge than with a yummy, fatty, Maple Bacon cupcakes.  I had tried these before at different cupcake bakeries but thought I would create them myself.  I used this vanilla cupcake recipe and this maple frosting recipe.  For the bacon, I simply pan fried and then stuck in a food processor.  The result was a cupcake that tasted just like breakfast.  Sweet and savory at its best.

Friday, January 27, 2012

Mojitos


Summer days bring summer cocktails.  It is hard to believe it is still January with 80 degree days.  Orange County has been blessed with an entire weekend of incredible weather so I decided to kick it off (Thursday is the weekend right?) by making Bobby's Signature Mojitos for my friend and I to enjoy during a little afternoon playdate (We like to call these "Happy Hour Playdates".  You should try it).  Bobby Flay always has incredible cocktail recipes and this one was BEYOND.  Not sure if it was the ginger simple syrup or the floater of coconut milk but whatever it was, I think it might have been one of the best mojitos that I have ever had.


I hope you all have an incredible weekend!

next